Tipard iPad 2 Transfer for Mac Guide
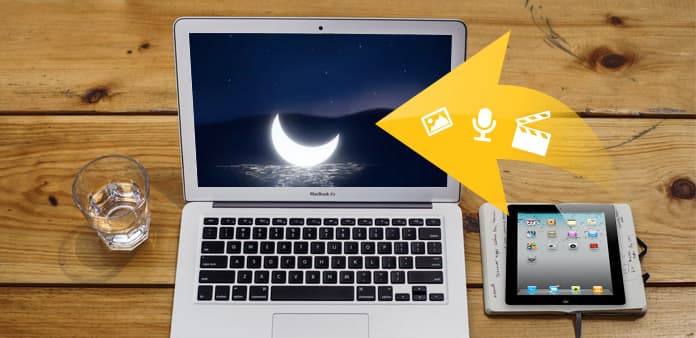
How to transfer DVD, Video, Audio, Picture between iPad 2 and Mac with iPad to Mac Transfer? Read this article and find the answer.
Step 1: Install Tipard iPad 2 Transfer Pro for Mac
Download Tipard Mac iPad 2 Transfer Platinum installation file; then follow the instructions to finish the installation.
After that, please launch Mac iPad 2 Transfer Platinum, and the registration window will pop up automatically. You can enter correct User Name and registration key to finish registration, or you can just skip the step to try this iPad 2 transfer firstly.
Step 2: Connect your iPad
After registration, you will see the the following screenshot.
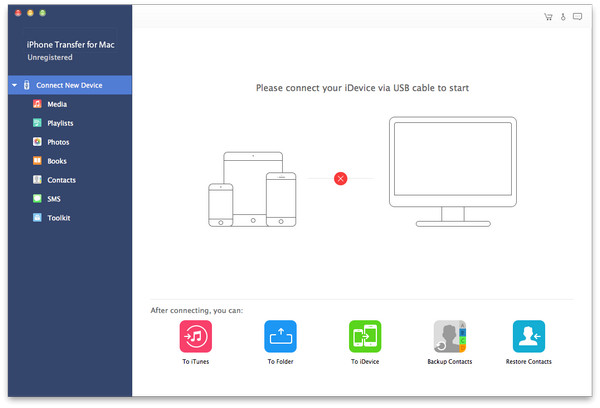
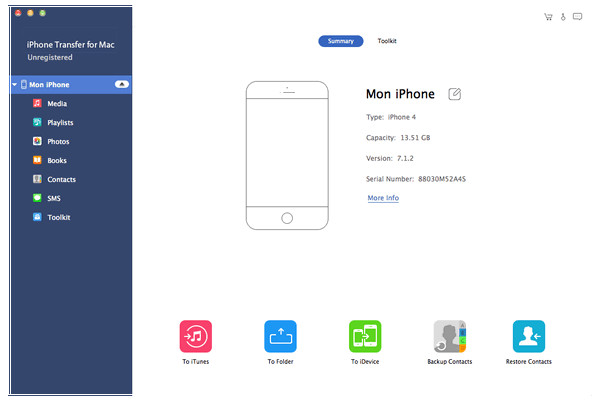
Connect your iPad 2 to Mac via Apple dedicated data line, then you will see the following image.
Once connecting, your iPad 2 will be recognized instantly, and the detailed information about your device will be displayed, including type, capacity, version and serial number. Plus, it will show the specific capacity values of different iPad files which have taken, and the available space.
Step 3: Transfer various iPad files to Mac
On the left side of the main interface, you will see the display list, which will show your various iPad files in different types. You can freely choose any kind of file type(music, movie, TV shows, Podcast, iTunes U, Books, pictures and Contacts) to transfer to your Mac for file safety or other use.
A: Transfer iPad Music
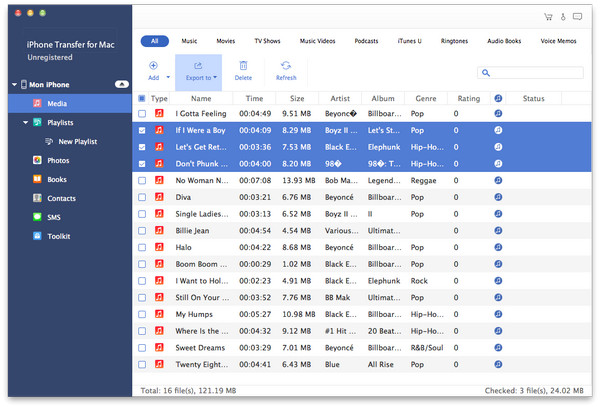
Click "Music" on the display list, then the right side of the interface will display all your music files in details as the following screenshot shows.
In front of each listed music file, there is a check box, you can check all to choose all music files or just one to choose, then click "iPad 2 to Mac" image button on the bottom of the interface to start transferring music files from iPad 2 to Mac.
B: Transfer iPad Movies
Click "Movies" on the display list, then the right side of the interface will display all your video files in details as the following screenshot shows.
In front of each listed video file, there is a check box, you can check all to choose all movie files or just one to choose, then click "iPad 2 to Mac" image button on the bottom of the interface to start transferring video files from iPad 2 to Mac.
Plus, on the lower left corner of the interface below, you can preview any video file in the "Preview Window".
C: Transfer iPad TV Shows
Click "TV Shows" on the display list, then the right side of the interface will display all your TV Show files in details as the following screenshot shows.
In front of each listed TV Shows files, there is a check box, you can check all to choose all TV Shows files or just one to choose, then click "iPad 2 to Mac" image button on the bottom of the interface to start transferring specified files from iPad 2 to Mac.
Plus, on the lower left corner of the interface below, you can preview any TV Show in the "Preview Window".
D: Transfer iPad Podcasts
Click "Podcasts" on the display list, then the right side of the interface will display all your Podcast files in details as the following screenshot shows.
In front of each listed file, there is a check box, you can check all to choose all files or just one to choose, then click "iPad 2 to Mac" image button on the bottom of the interface to start transferring specified Podcast files from iPad 2 to Mac.
Plus, on the lower left corner of the interface below, you can preview any video Podcast file in the "Preview Window".
E: Transfer iPad iTunes U
Click "iTuens U" on the display list, then the right side of the interface will display all your iTunes U files in details as the following screenshot shows.
In front of each listed iTunes U file, there is a check box, you can check all to choose all files or just one to choose, then click "iPad 2 to Mac" image button on the bottom of the interface to start transferring specified iTunes U files from iPad 2 to Mac.
Plus, on the lower left corner of the interface below, you can preview any video iTunes U file in the "Preview Window".
F: Transfer iPad Books
Click "Books" on the display list, then the right side of the interface will display all your eBook files in details as the following screenshot shows.
In front of each listed file, there is a check box, you can check all to choose all Book files or just one to choose, then click "iPad 2 to Mac" image button on the bottom of the interface to start transferring specified Book files from iPad 2 to Mac.
G: Transfer iPad Pictures
Click "Photos" on the display list, all Camera Roll files and Photo Albums will be displayed, and the right side of the interface will display all the corresponding photos or pictures under each Album Playlist as the following screenshot shows.
In front of each listed file, there is a check box, you can check all to choose all image files or just one to choose, then click "iPad2 to Mac" image button on the bottom of the interface to start transferring specified picture files from iPad 2 to Mac.
Also, you can click "Delete" image button to directly remove checked picture or photo files from your iPad.
H: Add Book file to iPad
Click "Books" on the display list, then the right side of the interface will display all your music files in details as the following screenshot shows.
Click "Import File" image button on the bottom of the interface to import one or multiple PDF or ePub files from Mac to your iPad 2. Then the imported files will be displayed below the previous Book files.
I: Add video file to iPad
Click "Movies" on the display list, then the right side of the interface will display all your video files in details as the following screenshot shows.
Click "Import files" image button on the bottom of the interface to import one or multiple video files from Mac to your iPad 2. Then the imported files will be displayed below the previous movie files.
J: Add image files to iPad
Click "My Picture" on the display list, then the right side of the interface will display all your music files in details as the following screenshot shows.
Click "Import File" image button on the bottom of the interface to import one or multiple image files from Mac to your iPad 2. Then the imported files will be displayed below the previous picture files.


