How to Transfer Photos from Computer to iPhone (iPhone 7/ 7 plus included)
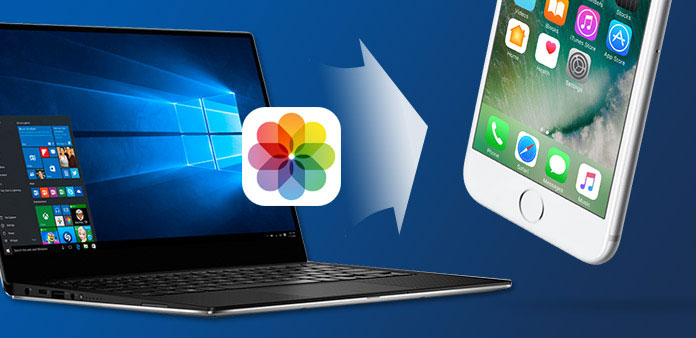
Got excellent pictures downloaded on computer, and wanna to use on iPhone wallpaper changing? Or you just have moved large amounts of photographs taken during the travel, and demand to pick out some top pictures and transfer to iPhone for further usage? All in all, no matter which cause you hold, the primary step is to transfer photos from computer to iPhone.
Both Windows and Mac OS X users can find suitable solutions, to sync photos to iPhone. The following solutions of transferring photos to iPhone from PC or Mac are not fixed, for instance, iTunes is the official file transfer tool, to link computer with iPhone, including Mac and PC. They are just more suitable under certain OS, but not only limited with it.
Part 1: The best way to transfer photos from computer to iPhone
Though the above solutions of transferring photos from computer to iPhone is useful and easy to operate in some degree. But they cannot cover the whole file transferring aspects. Tipard iPhone Transfer is your versatile computer to iPhone file transfer actually. You are able to backup and sync all iOS contents among iDevices and computer in safe and lossless mode, which can replace iTunes already. Moreover, the ID3 info editable feature is also another huge advantages, compares with other iPhone transfers.
Connect iPhone to computer
Connect your iPhone, iPad or iPod to computer via USB cable.

Choose photos on computer to transfer
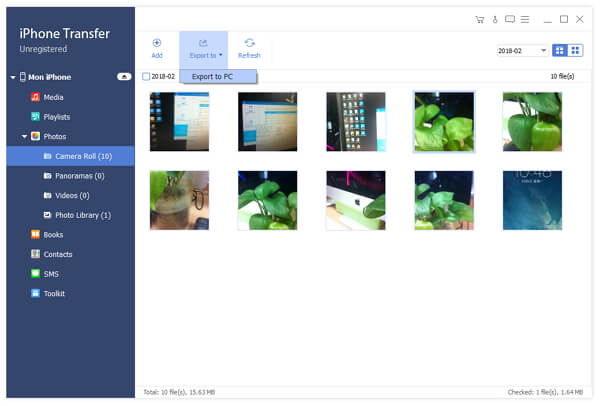
After connection, all the files in your device will be detected. You can find the file you want by clicking the file type on the left side. Click Photos on the left pane, to select specific photos to transfer with.
Start to transfer photos
Click Add button, and choose the file or folder in the pop-up window you wanna to export to iPhone.
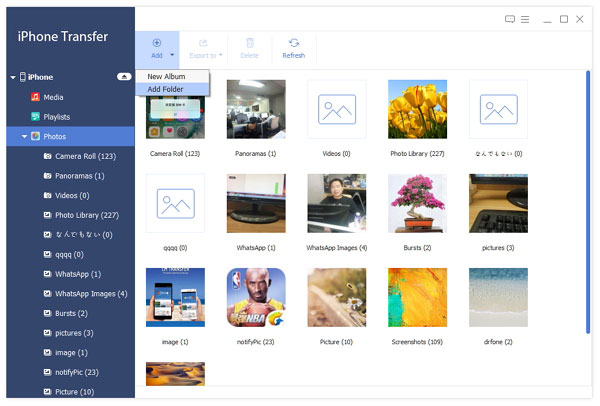
You are able to use iPhone Transfer Ultimate software to backup and manage iPhone pictures to computer and another Apple device as well. Whenever you need to backup and transfer iOS contents, iPhone Transfer Ultimate is always to be your versatile iPhone file transfer.
Part 2: How to transfer photos from Windows to iPhone (3 Methods)
These three tools are common to find, no additional software you need to install to transfer photos from computer to iPhone. Even if you are new iPhone users, it will be an easy task to move pictures from laptop to iDevice.
Method 1. Transfer pictures from computer to iPhone with iCloud
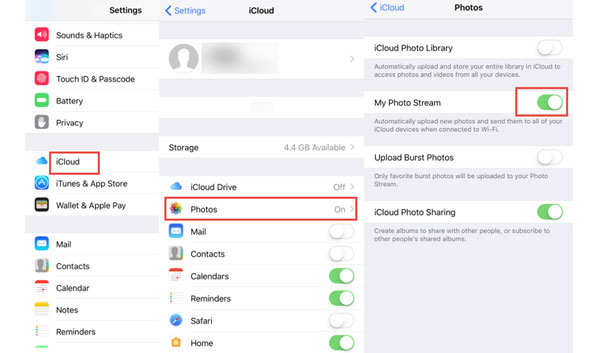
There should be iCloud for Windows installed first. And the whole Windows to iPhone photo transferring aims at iCloud Photo Library enabled.
Step 1: Change iPhone settings.
Launch Settings on iPhone, to open Photos. Turn on iCloud Photo Library and iCloud Photo Sharing.
Step 2: Turn on related options on PC.
Run iCloud for Windows program on PC, to enable Photos checkbox. Tap Options to enable iCloud Photo Library at least. Hit Done and Apply to move on. Later, navigate File Explorer to access iCloud images, under Devices and Drives. Right click iCloud Photos to choose Pin to Quick Access.
Step 3: Transfer pictures from computer to iPhone with iCloud
Open the File Explorer to locate the iCloud Photos, hit Add photos or videos, select the certain photo content to move to iPhone, at last, click Done to finish PC to iPhone photo transfer.
Method 2. Transfer photos from computer to iPhone with iTunes
Step 1: Prepare for Windows to iPhone photo transfer.
Sort out all pictures into one folder. And connect iPhone to PC with USB cable.
Step 2: Launch iTunes to Sync photos from PC to iPhone.
After detecting, enable Sync Photos option, and click Choose folder from the drop-down menu, to focus on the album you created before. You can tick All folders, or Selected folders, hit Sync to transfer photos from computer to iPhone with iTunes.

Method 3. Save photos from PC to iPhone via Google Photos
Step 1: Launch Google Photos on Windows.
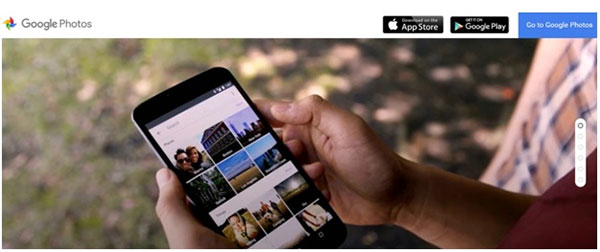
Make sure the Wi-Fi connection works successfully. Later, access Google Photos online, hit the upload photos icon on the top.
Step 2: Receive pictures on iPhone.
Open Google Photos app on iPhone, choose the Menu on the top left corner, and tap Collections to get transferred photos from computer to iPhone.
Part 3: How to copy photos from Mac Computer to iPhone (3 Methods)
Try following methods to move pictures from Mac to iPhone. In the same way, no forcible third party applications you have to install. And there are wide selections for you to choose to transfer photos from computer to iPhone without iTunes.
Method 1. Copy Mac local photos to iPhone through AirDrop
Step 1: Choose pictures that will be transferred to iOS in Finder window.
Step 2: Launch AirDrop to copy photos from Mac to iPhone.
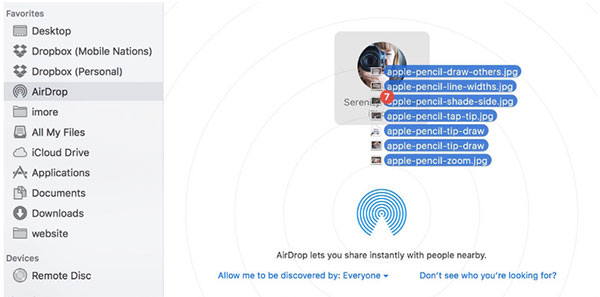
Open AirDrop in the new Finder window. And set your iPhone to be unlock and Everyone mode.
Drag and drop selected pictures to AirDrop menu, hit Accept to get pictures from Mac to iPhone.
Method 2. Sync Mac computer photos to iPhone with Facebook
Step 1: Launch Facebook on iPhone.
Open Facebook on iPhone, and choose More menu in the right corner. Tap Photos to browse all your photo collections through Facebook app.
Step 2: Download photos from Mac computer to iPhone.
Tap Albums on the top, and long press the photo to see Save Photo option appear.

Method 3. Download photos from Mac to iPhone with Mail
Step 1: Mail the small bunch of images from Mac.
Open any email site and enter with your account, attach your pictures, and hit Send on Mac.
Step 2: Receive and download emailed photos from Mac to iPhone.
The new message of email will pop up, and you just need to open and download images to save into iPhone directly.
Conclusion
These are all typical computer to iPhone transfer of photos in simple or professional methods. It is true that file transfer is not the difficult aspect, among other daily problems. But when there is easier and time saving solution, it is not harmful to apply, right? If you have anything hard to understand, feel free to contact us.


