Tipard iPod to PC Transfer Guide
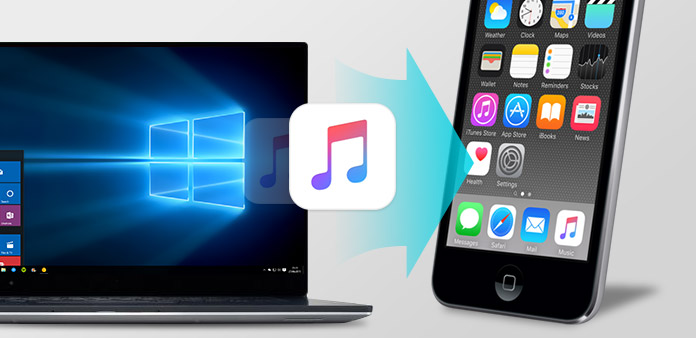
Tipard iPod File Transfer helps you to transfer music from iPod to Computer. In another word, this iPod music transfer help you clear up the following problems: how to transfer music/video to iPod? How to transfer songs/video from the iPod to computer.etc. And the following description is the step by step guide for you to transfer music/video from iPod to Computer.
Step 1: Install and register Tipard iPod to PC Transfer Ultiamte
Download Tipard iPod to PC Transfer Ultimate installation file, then double click the downloaded installation file to start installation; next, follow the instructions to finish the installation.
Step 2: Connect your iPod
After registration, you will see the the following screenshot.
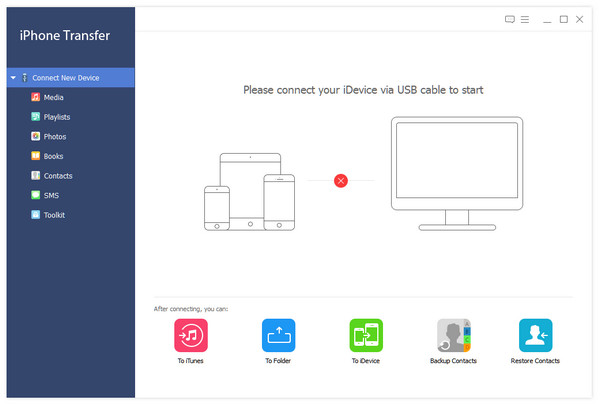
Connect your iPod to PC via Apple dedicated data line, then you will see the following image.
Once connecting, your iPod will be recognized instantly, and the detailed information about your iPod will be displayed, including type, capacity, version and serial number. Plus, it will show the specific capacity values of different iPod files which have taken, and the available space.
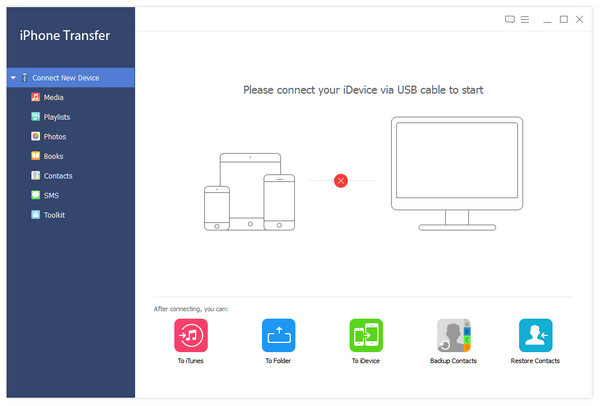
Step 3: Choose any file type you want to transfer
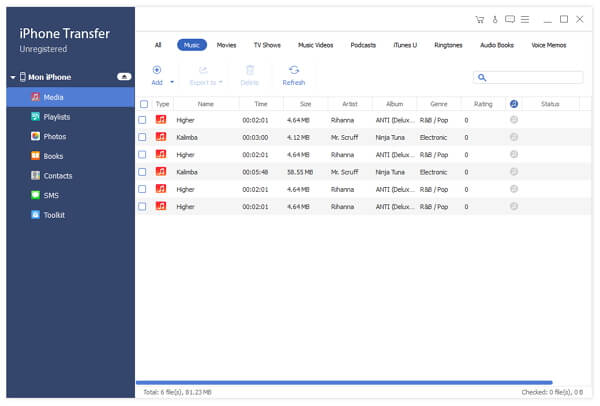
On the left side of the main interface, you will see the display list, which will show your various iPod files in different types. You can freely choose any kind of file type(music, movie, TV shows, Podcast, Books, iTunes, Camera roll, pictures, etc.) to transfer to your PC for backup and safety.
A: Transfer iPod songs
Click "Music" on the display list, then the right side of the interface will display all your music files in details as the following screenshot shows.
In front of each listed music file, there is a check box, you can check all to choose all music files or just one to choose, then the "Transfer" button will be activated instanly.
B: Transfer iPod movies
Click "Movies" on the display list, then the right side of the interface will display all your movies in details as the following screenshot shows.
In front of each listed video file, there is a check box, you can check all to choose all movie files or just one to choose, then the "Transfer" button will be activated instanly.
C: Transfer iPod TV Shows
Click "TV Shows" on the display list, then the right side of the interface will display all your TV Shows in details as the following screenshot shows.
In front of each listed TV show files, there is a check box, you can check all to choose all TV shows or just one to choose, then the "Transfer" button will be activated instanly.
D: Transfer iPod Podcasts
Click "Podcasts" on the display list, then the right side of the interface will display all your Podcasts in details as the following screenshot shows.
In front of each listed Podcast files, there is a check box, you can check all to choose all Podcasts or just one to choose, then the "Transfer" button will be activated instanly.
E: Transfer iPod Books
Click "Books" on the display list, then the right side of the interface will display all your book files in details as the following screenshot shows.
In front of each listed book files, there is a check box, you can check all to choose all book files or just one to choose, then the "Transfer" button will be activated instanly.
F: Transfer iPod iTunes U
Click "iTunes U" on the display list, then the right side of the interface will display all your iTunes U files in details as the following screenshot shows.
In front of each listed iTunes U files, there is a check box, you can check all to choose all iTunes U files or just one to choose, then the "Transfer" button will be activated instanly.
Step 4: Start transferring files
Click "Transfer" button to start to copy any kind of file type you like to PC for backup. After transferring, the output folder will pop up automatically.


