How to Transfer Photos from Android to iPhone
There are many tools that could help you to transfer photos from Android phone to PCs easily; however, when it comes to move photos from Android to iPhone, it is another store. Android and iOS are totally different operating systems. That makes photo migration between them more difficult. Actually, several tools we use every day have the ability to transfer photos from Android to iPhone. In this tutorial, we are going to show you the best ways to move photos from Android to iPhone. When you need to migrate images from Android to iDevice, you can follow our detailed guides below.
Method 1. Transfer Android photos to iPhone via Tipard Phone Transfer
Tipard Phone Transfer is a professional photo import and export program. It supports to transfer pictures from Android to iOS, between Android phones, or two iDevices. Moreover it uses physical connections to achieve image migration. It not only does not need internet connection, but also offers higher speed and better quality.
Install Phone Transfer
Phone Transfer has one version for Windows and Mac respectively. You can download the right one and install it to your computer.
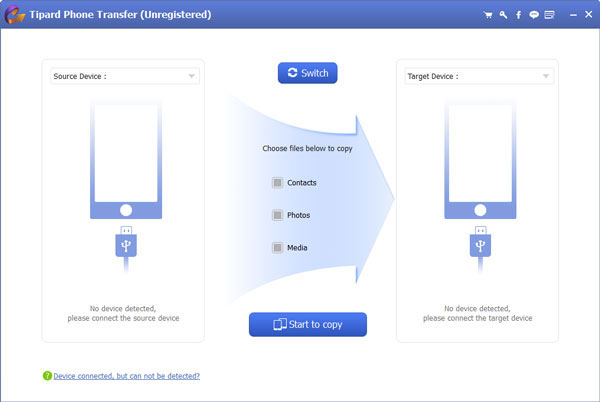
Connect Android and iPhone
Go to "Settings" app on Android home screen and enable the "USB Debugging" more in "Developer Options" screen. Connect both Android device and iPhone to your computer with cords.
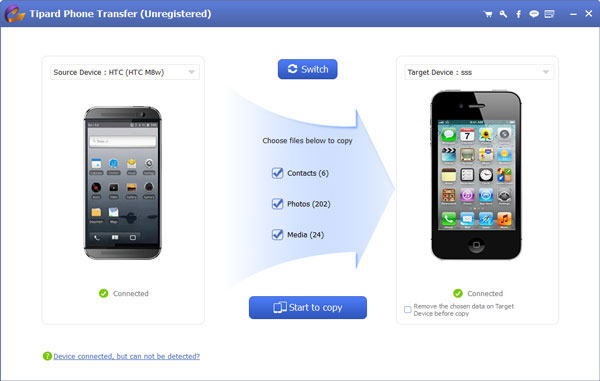
Choose data from Android
Make sure your Android handset shows on the "Source Device" panel and iPhone appears on the "Target Device" panel. If not, click on the Switch button to correct them. Then trick the checkbox of "Photos" in the center of the interface.
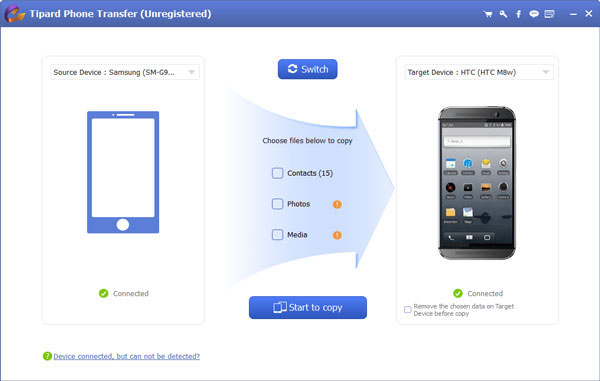
Transfer data from Android
Once you click on the "Start to copy" button at bottom, Phone Transfer will execute your command immediately.
Method 2. Move images from Android to iOS via Google Photos
Google Photos app developed by Google is the mobile client for Android and iOS. With this cloud service, you can transfer images from Android to iPhone. Before using Google Photos, you should understand that Google Photos offers unlimited storage for compressed photos. If you want to move photos with original quality, you have to use the 15GB free storage.
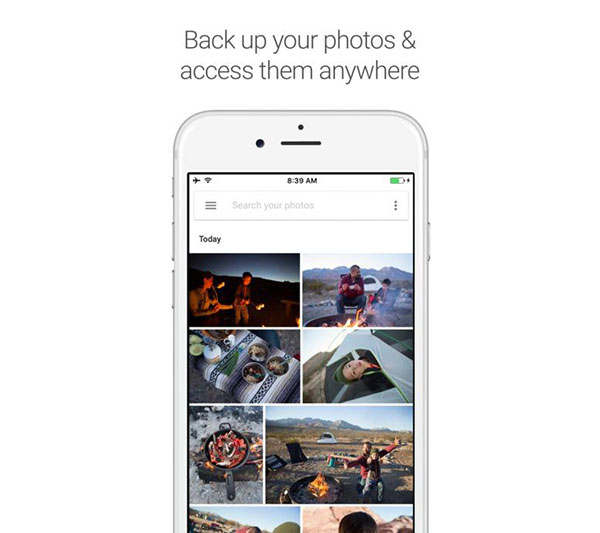
How to move photos from Android to iOS with Google Photos
Step 1: Download and install Google Photos on both Android device and iPhone. It is available in Play Store and App Store.
Step 2: Launch Google Photos app on Android home screen and sign in your Gmail account. Tap on the "Settings" button, enable "Backup & Sync" option and choose an "Upload size". Then you can decide to import all photos or an album.
Step 3: Turn to iPhone, open Google Photos app and login the same Gmail account. Tap on the photo you want to move to iPhone and unfold the "menu" icon with three dots at upper right corner. Choose "Download" option from the menu list, the photo will be saved to "Photos" app on iPhone.
Method 3. Photo migrates from Android to iPhone through Flickr
Flickr is a popular photo gallery that offers 1TB free storage space for each account on mobile channel. It will not compress your pictures during import. And although it has storage capacity limited, it is enough to let photos migrate from Android to your iPhone.
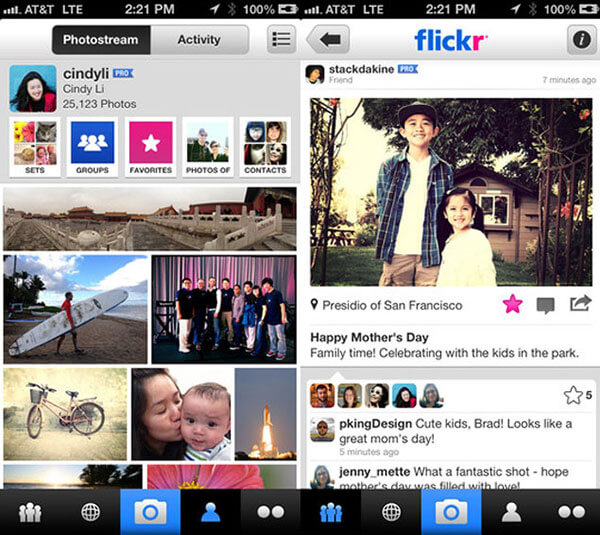
How to photo migrates with Flickr
Step 1: Download Flickr app from Play Store and install it on your Android device. Open it and log in your Flickr account.
Tip: you can register an account on https://www.flickr.com/.
Step 2: Flickr app will prompt you to setup photo and video backups, like use which data connection to backup photos. After setup, it will back up all Android photos to Flickr automatically.
Step 3: Go to your iPhone and install Flickr app from App Store. Launch Flickr app and login the same account.
Step 4: Preview your photos in album and select the photos you want to transfer. Hit the "Share" icon and choose "Save" from the menu list. Then selected photos will be exported from Flickr to Camera Roll.
The Flickr free account has to view ads. If you do not want to look at ads, you can pay for the pro account at $50 yearly.
Method 4. Export photos from Android to iPhone via USB Cable
As you know, Android and iOS cannot communicate directly. But both of them can interactive with computers. So, if you do not want to use a third part tool, you can transfer photos from Android to iOS with a PC.
How to export photos from Android to PC
Step 1: Go to "Settings" app on Android home screen and turn on the "USB debugging" mode in "Developer Options" screen.
Step 2: Hook up your Android phone to the computer with a USB cable.
Step 3: When the AutoPlay dialog pops up, choose the "Open device to view files" option to continue.
Step 4: Navigate to "Internal Storage"-> "DCIM"-> "Camera", you can preview and download photos on Android phone. If you store photos to SD card, the path should be SD card-> DCIM.
After download, remove Android phone from your computer.

How to import photos to iPhone
Step 1: Plug your iPhone to the computer with USB cord and launch iTunes on the computer.
Step 2: When iTunes recognizes your iPhone, click on the Device icon on top ribbon and choose Photos on left side bar.
Step 3: Trick the checkbox of Sync Photos on right panel and choose the location that you save the Android photos.
Step 4: Once click on the Apply button at bottom, the photos will be imported to iPhone Camera Roll.
Conclusion
Are you facing challenges to transfer photos from Android to iPhone? Well, you would find our step-by-step guides are helpful. We have shared multiple ways to move photos from Android to iOS. If you want to transfer photos between two mobile devices without quality loss, we will recommend Tipard Phone Transfer. Google Photos app is a client of cloud service. And you can treat it as a photo transfer tool between Android and iPhone. Flickr is photo gallery able to transfer pictures from Android to iPhone. And if you do not want to rely on third party tools, you have to use a PC as medium to achieve photo migration indirectly.
How to Transfer Photos from Android to iPhone


