How to Delete Pictures from iCloud with Best Methods

If you do not tidy up your room regularly, all your things will in a muddle. Similarly, if you do not delete unnecessary photos from iCloud in time, it will be stuck full of previous files, and fail to work any more. Not mention to the free 5GB iCloud storage space that everyone can own. There is no question that you need to organize to make room for new photos come in. All in all, if you installed iCloud and prefer it to store new taken pictures, then remember to delete pictures from iCloud, to enable the normal operating.
Method 1. Delete Pictures from iCloud Photo Library
iCloud Photo Library, it works similar, once your photos have reached 5 GB, iCloud will fail to work. To keep the original photo backing up processes, you have better delete pictures from iCloud.
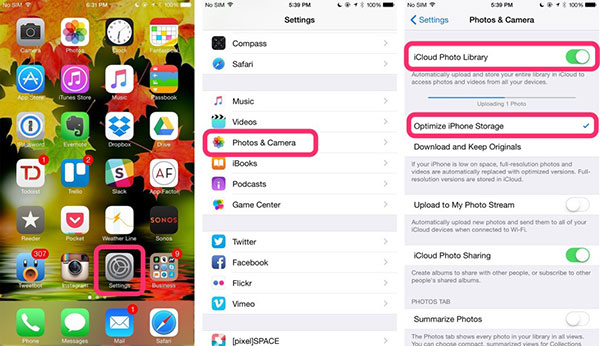
Step 1: Select pictures to delete with.
Choose "Albums" in "Photos" application first, and then tap "All Photos", and hit "Select" on the top right corner.
Step 2: Remove iCloud photos in iCloud Photo Library.
Hit the "Trash" icon on the bottom, to "Delete Photos" from iCloud with no computer.
Method 2. Get Rid of Photos from My Photo Stream
My Photo Stream is the new feature used by iCloud for storage. Once you turn it on, your entire Apple devices will start to send back up files automatically. The obvious limitation is that you are only able to keep no more than 1000 pictures within 30 days.
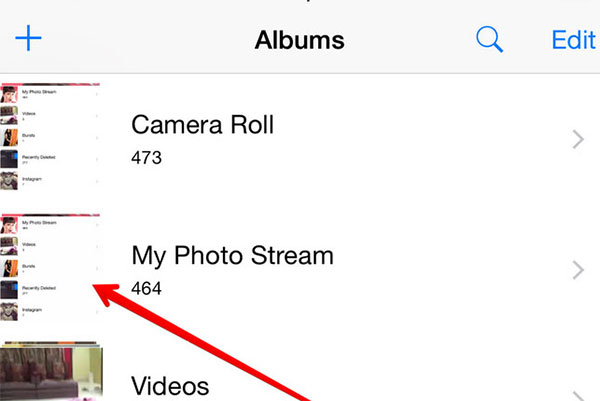
Step 1: Get the photo album you wanna to delete.
Locate "Photos" on iDevice, and tap "My Photo Stream" after "Albums" menu have been chose.
Step 2: Delete iCloud pictures in My Photo Stream.
Hit "My Photo Stream" button, to select photos you will delete. Click the "Trash" option and confirm iCloud picture deletion.
Method 3. Remove iCloud Pictures on iPhone & iPad
Considering people may not hold iDevice during every period, I have sort out relevant solutions, to delete pictures from iCloud storage, on iOS devices, Windows and OS X computers.
Step 1: Locate "Settings", to find "iCloud".
Step 2: Choose Backup files stored in iDevice.
Click "Storage and Backup" option, to "Manage Storage" and find "Backups".
Step 3: Remove iCloud back up images.
Turn off "Camera Roll", and turn to "Storage and Backup" again, to choose "Backup Now" to remove previous iCloud pictures.

Method 4. Erase iCloud Photos on PC
Step 1: Launch iCloud program on PC.
Choose "Start" menu to open "iCloud" icon. Later, click the iCloud folder, to dig out stored iCloud pictures.
Step 2: Manage pictures from iCloud.
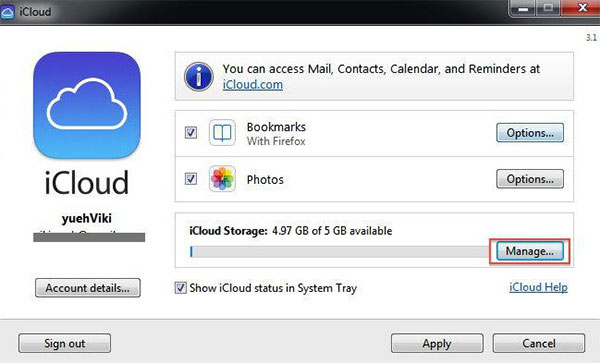
Hit "Manage" on the iCloud control pane, to choose "Backups" on the left, to select which iCloud photos to delete.
Step 3: Remove photos from iCloud on PC.
Tap "Delete" and confirm the deletion to erase iCloud images.
Method 5. Delete iCloud Images on Mac
Step 1: Run iCloud on Mac.
Open "Apple" menu, choose "System Preferences" and tap "iCloud" to manage with.
Step 2: Find iCloud picture to delete from backups.
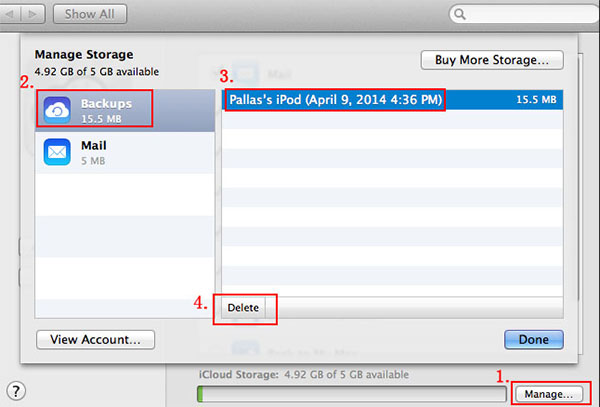
Find "System Preferences" to get "iCloud", with which to click "Manage" and open "Backups", to select stored pictures to confirm the iCloud pictures deletion.
More: Remove iPhone Pictures and Other Contents Permanently
It may be the over powerful program for you to delete pictures from iCloud account. However, it does not mean you Tipard iPhone Eraser is not helpful for you. To erase all your iPhone data permanently, iPhone Eraser is always your strong support, to make the old iDevice run like new, and protect privacy for better resale.
How to Wipe All Contents More than One iOS Device
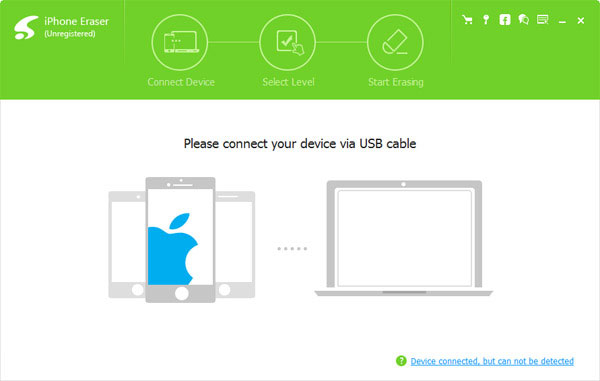
Link iPhone to PC.
Use USB cable to connect iPhone with computer, to launch it and detect your iPhone thoroughly.
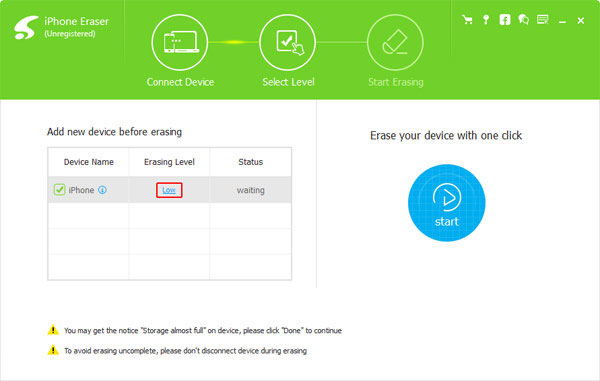
Set erasing level (Low, medium and high)
Once it has been detected, you will face three different iOS remove level, to overwrite data once, twice or for third times.
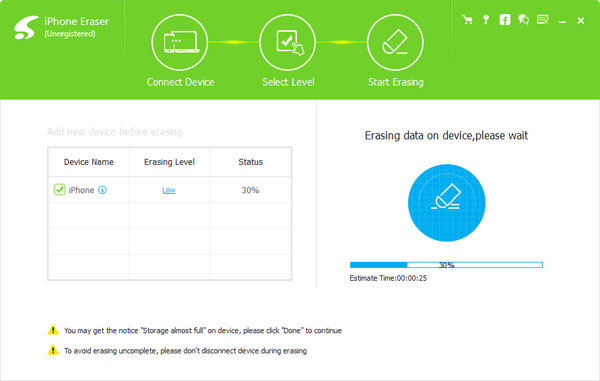
Erase your iPhone.
Click Start button besides, to give your iPhone a shower, to erase all data and files without recovery possibilities.
From deleting pictures from iCloud storage to iPhone data erase, you can choose according to your real necessities. All you need to do is to tap with few clicks, and then you are able to erase and make space for new files absorbing.


