About | Privacy Policy | Terms of Use | Support | Contact Us
Copyright © 2025 Tipard Studio. All Rights Reserved.
User Guide
Step 1 Download and install Tipard 4K Video Converter for Mac on your Mac
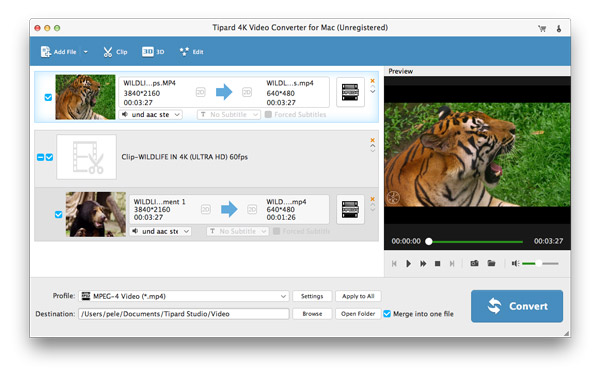
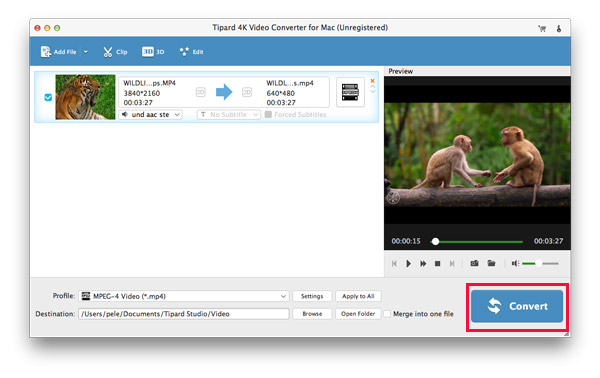
Download and install 4K Video Converter for Mac. Launch the program and then add videos you want to convert.

Step 2 Set profile
Select output video format from "Profile" drop-down list.

Step 3 Start to convert 4K vide
Click "Convert" button to start converting to 4K videos.

Step 1 Rotate video
Click "Edit" button in the main interface to start rotate or flip your videos.

Step 2 Set 3D mode
In the Edit interface, click "3D" to set your 4K video to 3D mode. Here you can set "Anaglyph" or "Split Screen" to make 3D mode.

Step 3 Crop video
In the editing interface, click "Crop" to crop area size to get rid of letter box. You are allowed to set the area zone by clicking the area size or dragging the mouse cursor to customize as you like freely.

Step 4 Edit effects
Clicking Effect to set video and audio effects. It lets you set audio volume. Also you can adjust brightness, contrast, saturation and hue to edit video effects.

Step 5 Watermark video
In the editing interface, click "Watermark" to add watermark for your video. You can add picture or text to specify you own video.

Step 6 Clip and merge video
In the main interface of this program, you could clip and merge your video by clicking Clip. In the clip window, you are able to clip video with different length time to cut a long video to a shorter one. Click Merge into one file in the left bottom corner to merge the clips. Also, you could merge several different videos in the main interface to merge them into one long video by clicking Merge into one file, next to the Convert button.
