About | Privacy Policy | Terms of Use | Support | Contact Us
Copyright © 2025 Tipard Studio. All Rights Reserved.
User Guide
Step 1 Load video files
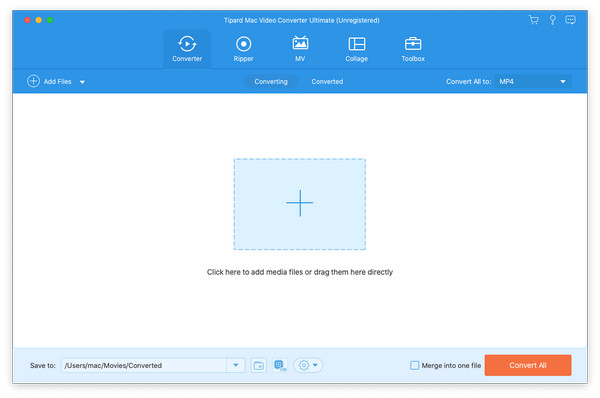
Click the Add Files button to add the media files you want to convert. You can also click the big plus icon to import the videos, or simply drag the video files directly into the program.
Step 2 Select the output format
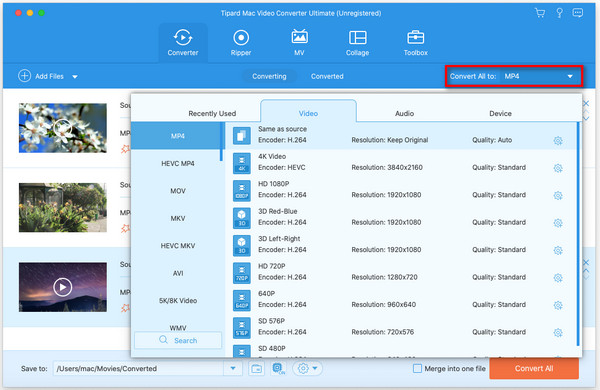
Select the output format from the Convert All to drop-down list. To further adjust the profile settings, click Custom Profile (the gear icon) to adjust video settings like encoder, resolution, frame rate, bitrate. You can also configure audio settings like encoder, channel, sample rate, and bitrate.
Step 3 Convert video and audio files
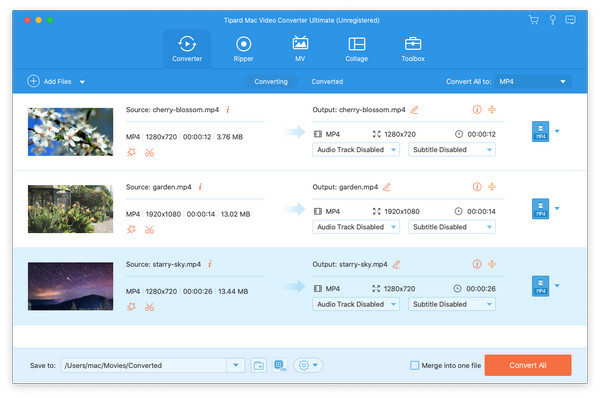
Then set the output location to save the converted file, and click the Convert All button at the bottom right corner to start the conversion process.
Step 1 Load DVD files
Launch Mac Video Converter Ultimate and locate the Ripper tab on your Mac. Click the Load DVD button to add the DVD disc, DVD folder, or DVD ISO file.
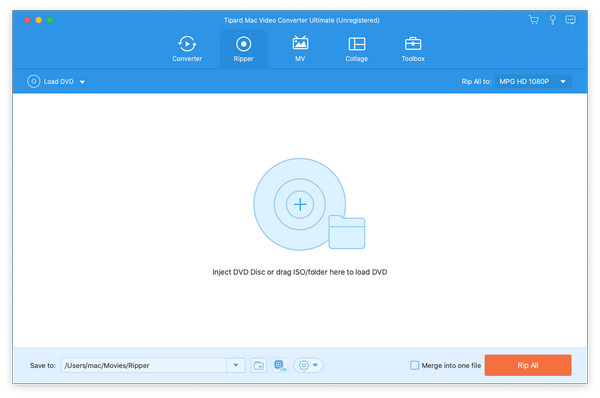
Step 2 Select output format
The default output format is MPG Lossless, which will keep the lossless output quality and keep the original full tracks and subtitles of your DVD.
Then click the drop-down list of Rip All to and select the output format. You can also click Custom Profile (the gear icon) to customize more output settings.
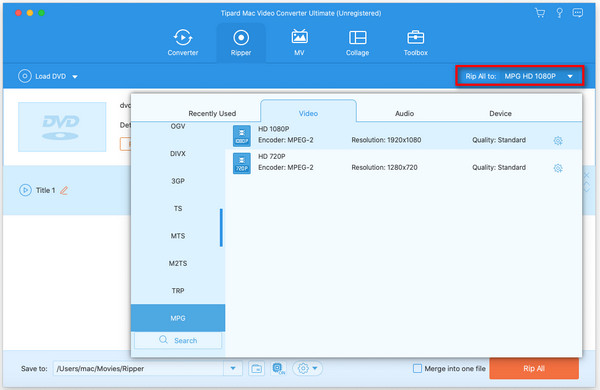
Step 3 Rip DVD to video/audio
Finally, go to the bottom left area to select the destination, and click the Rip All button to convert DVD to other video or audio formats.
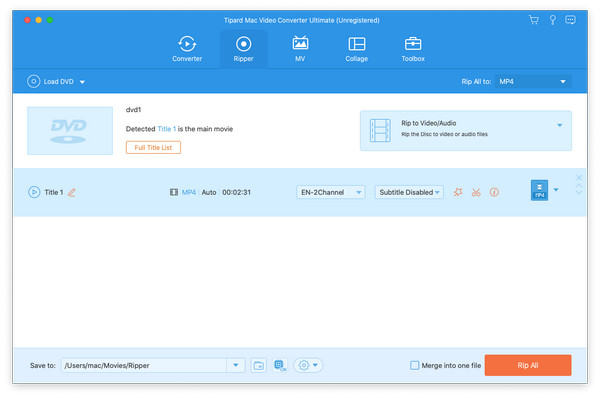
Step 1 Add video(s)
In the bottom-left corner, click the big Plus icon or hit the Add button. Select the wanted videos from your computer. Then you can adjust the order of them by clicking Forward or Backward. Features like Edit and Trim are also available.
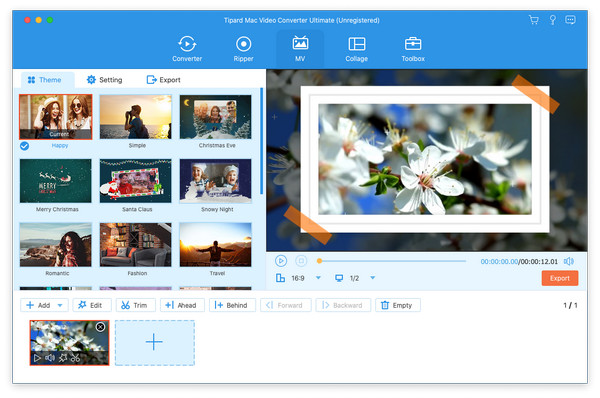
Step 2 Choose a theme
On the left, choose an appropriate theme for your video like Happy, Simple, Christmas Eve, etc.
Step 3 Adjust MV settings
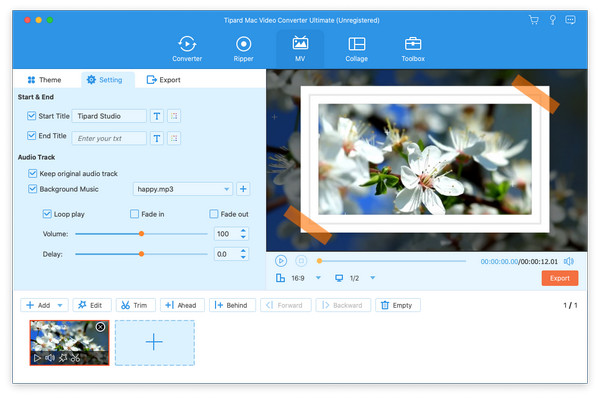
Choose Setting on top menu bar. Here you can set Start and End Title. Audio Track settings like adding Background Music, Loop play, Volume, and more are also changeable.
Step 4 Export MV
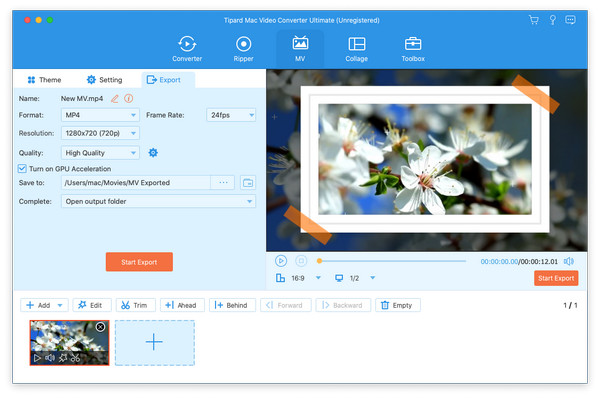
Switch to Export from the top menu bar. You can change the Name of your Besides, you can select a wanted Format, Frame Rate, Resolution, and Quality. Finally, choose Save to folder and click Start Export.
Step 1 Choose a template
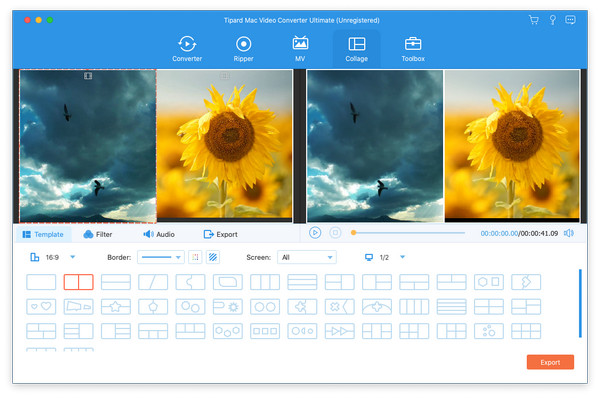
Click the Plus icon and import the wanted videos. Down below, you can select a template you like. The Border, Screen, and aspect ratio are available to change.
Step 2 Add filter
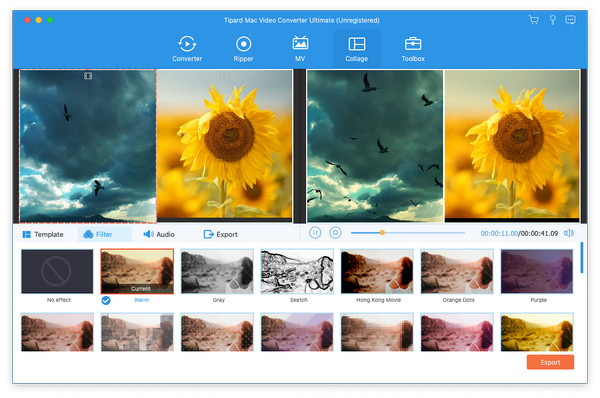
Choose Filter on the top. Select a filter for each video separately to make your video more attractive.
Step 3 Adjust audio
Switch to Audio setting. You can choose to Keep the original audio track. For your reference, you can Click the "+" to add audio as the Background music. Besides, you can also Loop play, Fade in, or Fade out the added audio. Volume and Delay are also adjustable.
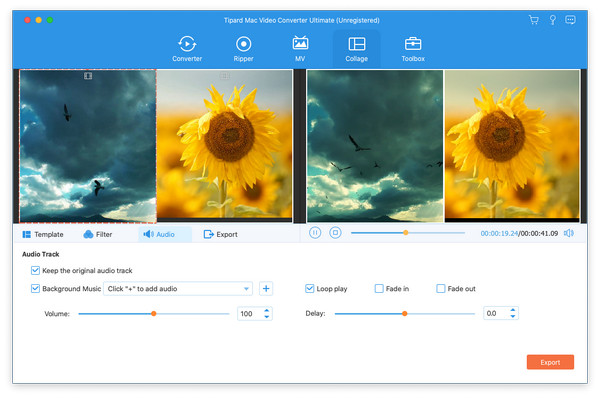
Step 4 Export collage
Click Export from the top bar. You can change the Name of the collage. You can also choose the Format, Frame Rate, Resolution, and Quality of the collage video. Then choose an output folder and hit the Start Export button.

Mac Video Converter Ultimate provides the built-in editor to further edit the video or audio files. You can click Edit or Cut icon to polish your videos or audio on Mac.

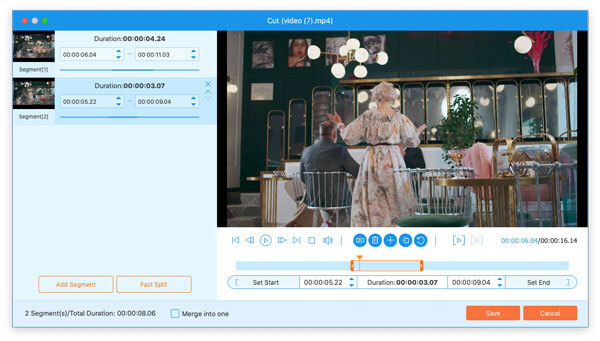
The Clip feature helps you split your videos into pieces. After loading your DVD, you can click Cut (the scissors icon) to split videos into parts, add a new segment, copy and paste the segment, and more.
If you shoot videos sideways, you can use the Rotate feature. Simply click Edit (the magic wand icon) and locate Rotate & Crop tab. It can rotate the video by 90, 180, or 270 degrees.
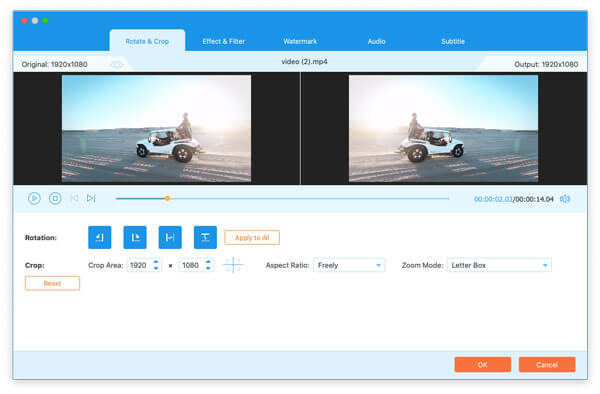
The Crop feature helps you remove unwanted portions from videos. Locate Rotate & Crop tab to get rid of the annoying edges. You can also adjust the aspect ration from 16:9, 4:3, 21:9, 16:10, 5:4, 1:1, 9:16, etc. Moreover, you can adjust the zoom mode from Letter Box, Pan & Scan, or Full.
In the Effect & Filter tab, you can adjust the basic effects like contrast, saturation, brightness, and hue. Besides, you can apply filters like warm, gray, sketch, Hong Kong movie, orange dots, purple, plain, stars, and more.

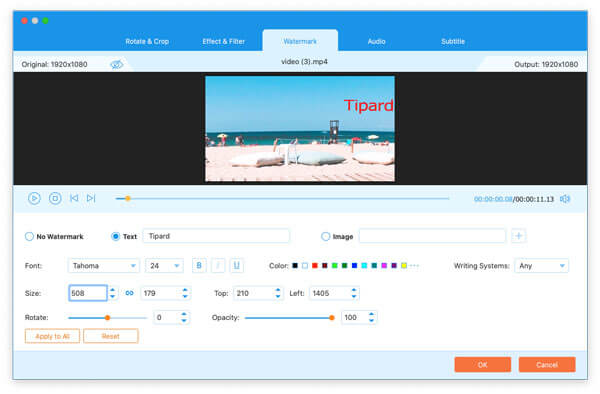
Want to add a logo to your work? You can apply a text watermark or image logo to the video. Meanwhile, you can adjust font, size, color, writing system, font position, rotation, and opacity.
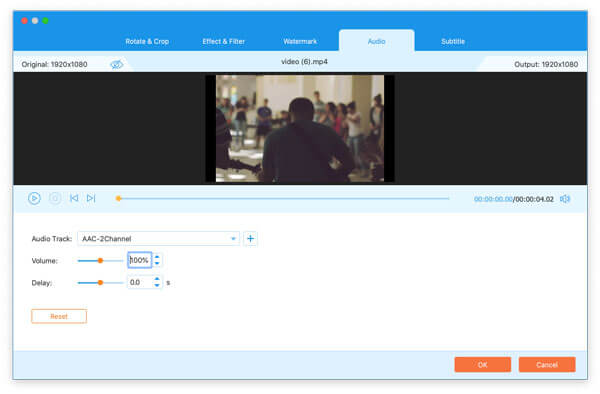
Want to add a background to your silent video? Locate Audio tab to add a new audio track, disable the existed audio track, adjust volume, and delay time.
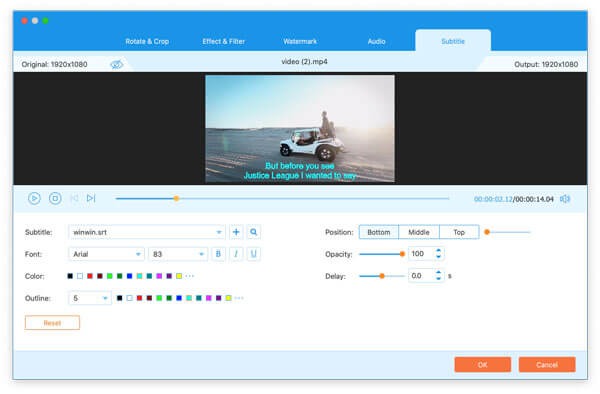
The Subtitle feature lets you add a subtitle to your movie. Here you can add or disable subtitle, adjust the subtitle font, type, color, outline, position, opacity, and delay time.
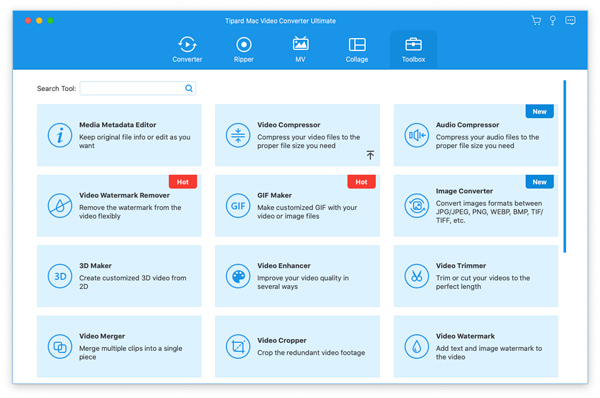
Tipard Mac Video Converter Ultimate provides additional tools for users, where you can edit metadata, compress video, make GIFs, create 3D videos, and enhance videos.
Step 1 Add media file
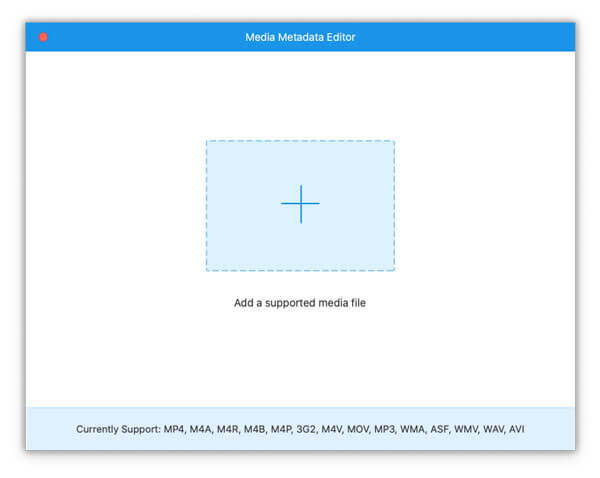
Locate Toolbox tab and select Media Metadata Editor. In the pop-up window, you can click the + button to add the media file.
Step 2 edit ID3 tag
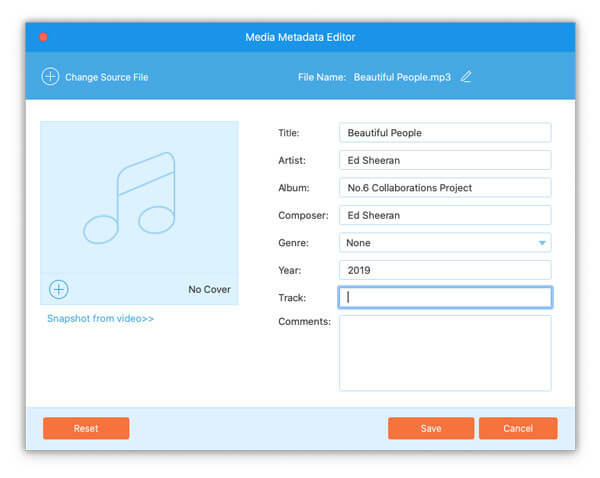
In the Media Metadata Editor window, you can rename the video/audio, change the tags like title, artist, album, composer, genre, year, track, and comments. Then click the Save button to save the metadata changes.
Step 1 Add video file
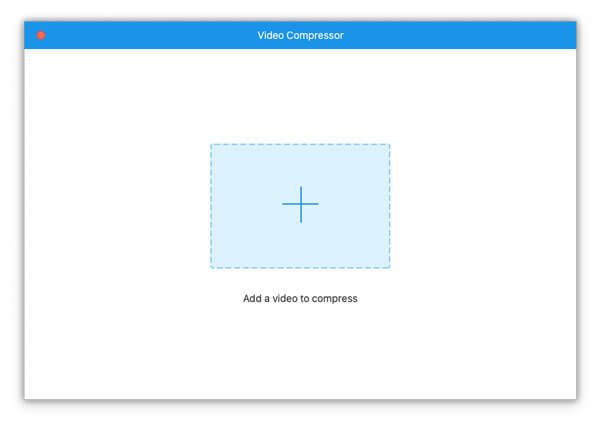
Select Video Compressor in Toolbox, and click the + button to load the video file you want to compress.
Step 2 Compress video
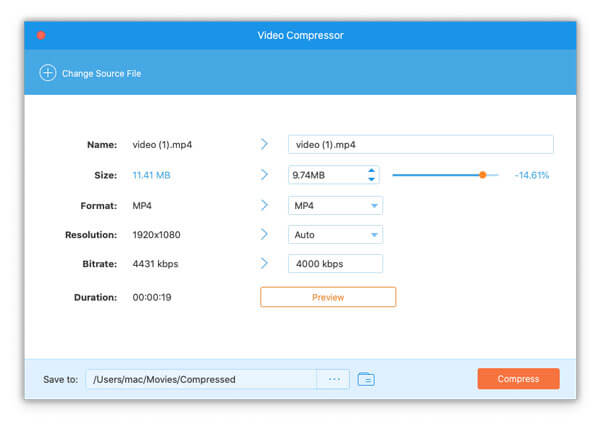
You can adjust the video size by moving the control bar left or right. You can also rename the video, change the output format and resolution. The Preview button lets you preview the compressed video for 10s. Then click the Compress button to compress the video file.
Step 1 Add video/photo files
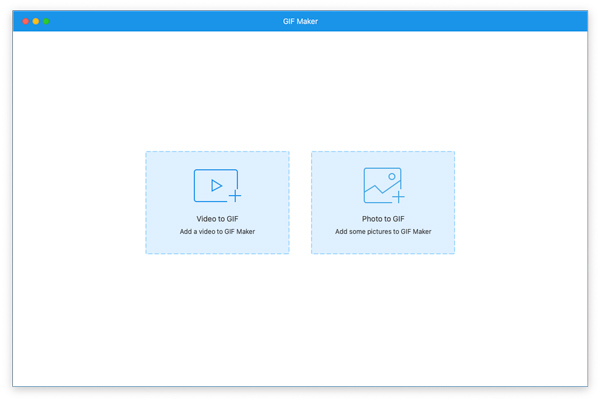
Choose GIF Maker from the Toolbox interface. If you want to make a GIF from videos, you can click the Video to GIF button to upload the video file. If you would like to make a GIF from photos, you can choose the Photo to GIF button to import the image.
Step 2 Make GIF
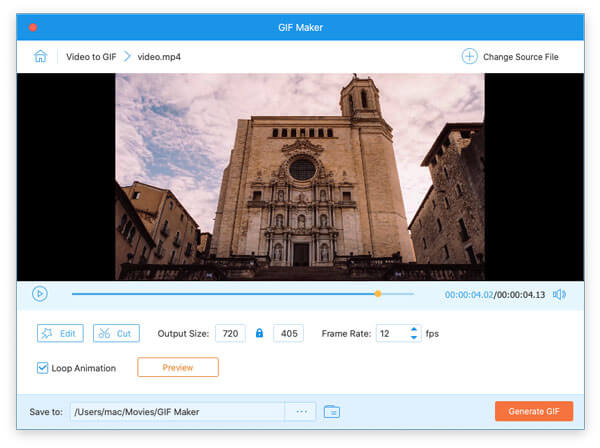
In the GIF Maker window, you can adjust the output size, frame rate, and enable Loop Animation. Then click the Generate GIF button to start making GIF from video.
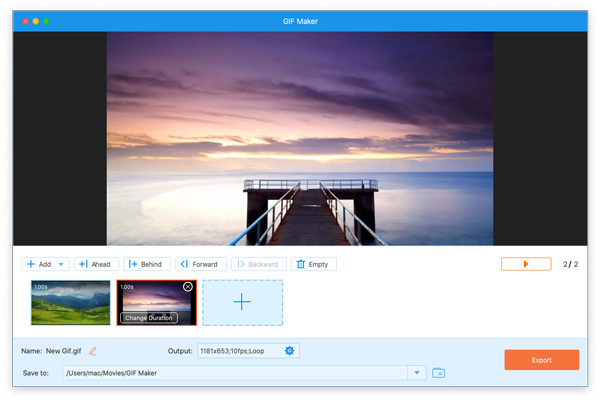
You can click the plus sign to add more photos when making a GIF from images. You also can change the order of your images as you like in the interface. Finally, click the Export button to finish.
Step 1 Add video file
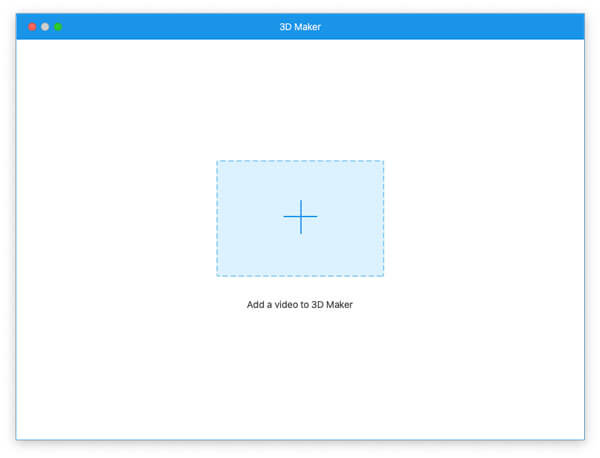
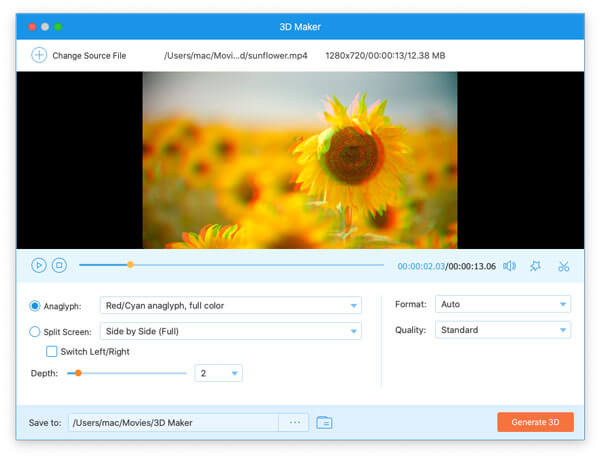
Find 3D Maker from the Toolbox, and click the + button to import the common video file.
Step 2 Convert 2D to 3D
In the 3D Maker window, you can apply Anaglyph or Split Screen 3D effects, enable Switch Left/Right. Then choose the output format and high quality, and click Generate 3D button to convert the 2D video to 3D.
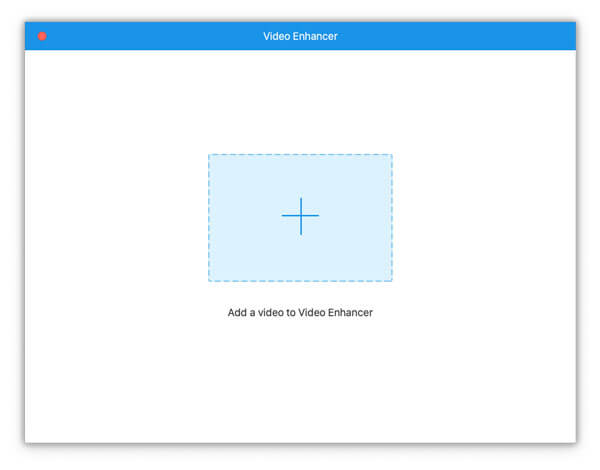
Step 1 Add video file
Select Video Enhancer and click the + button to add your video to the tool.
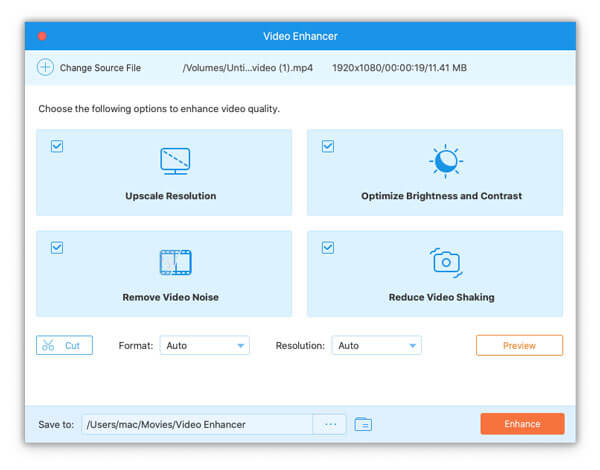
Step 2 Enhance video
It provides 4 options to enhance the video. You can upscale resolution, optimize brightness and contrast, remove video noise, and reduce video shaking. Then click the Enhance button to enhance the video.
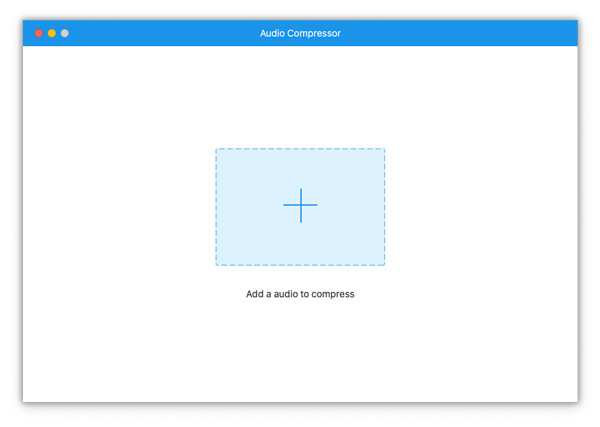
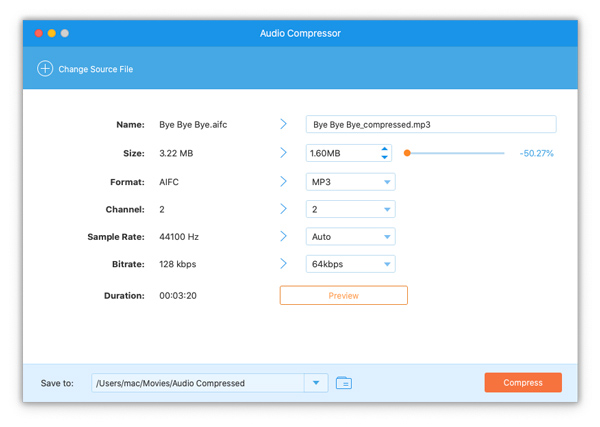
Step 1 Add an audio file
Select Audio Compressor from Toolbox and click the central plus sign to import the audio file you want to compress.
Step 2 Compress audio
You can reduce the size of your audio by sliding the Size bar. Then click the Compress button to complete.
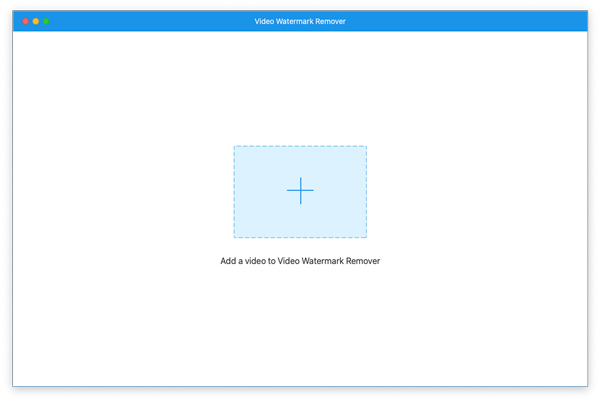
Step 1 Add a video file
Click the Video Watermark Remover button in the Toolbox interface and click the central plus sign to import the video you want to add a watermark to it.
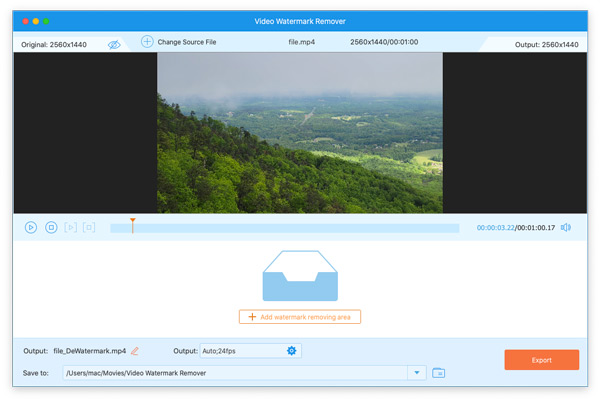
Step 2 Remove watermark
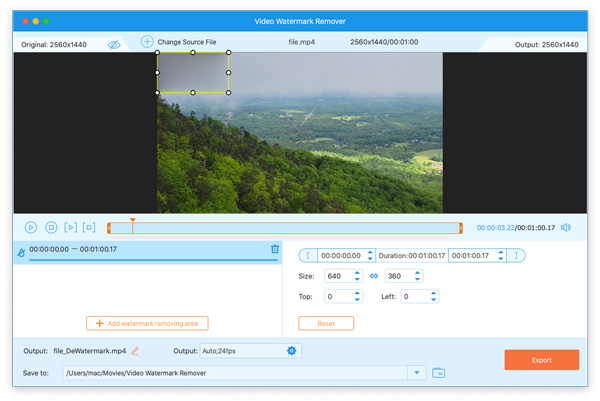
After importing the video, please click the Add watermark removing area button to select the watermark area you want to erase.
Then you can customize the watermark area size and position as you like by changing the number of Size, Top, and Left. Or you can directly use your mouse to drag the frame. Next, click the Export button to complete.
Step 1 Add a video file
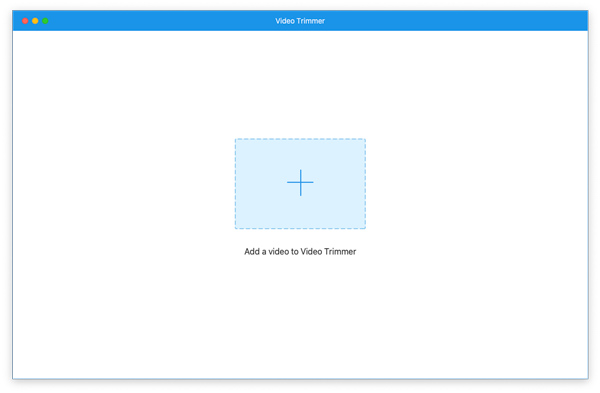
Click the Video Trimmer button in the Toolbox interface and the central plus sign to import the video you want to cut.
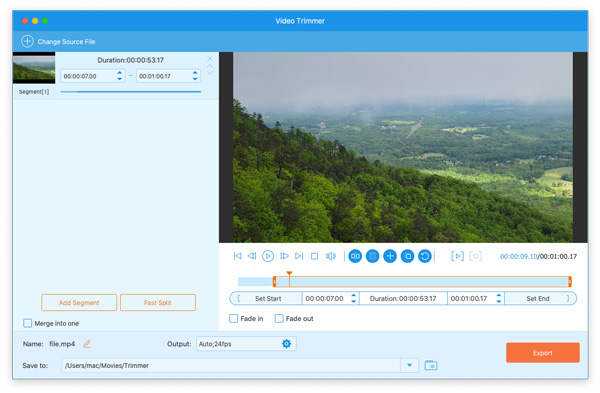
Step 2 Trim video
Next, you can trim your video by dragging the starting point and ending point of the timeline bar. You also can split your video into several segments by clicking the Split icon. Later, click the Export button to save your video to your computer.
Step 1 Add a video file
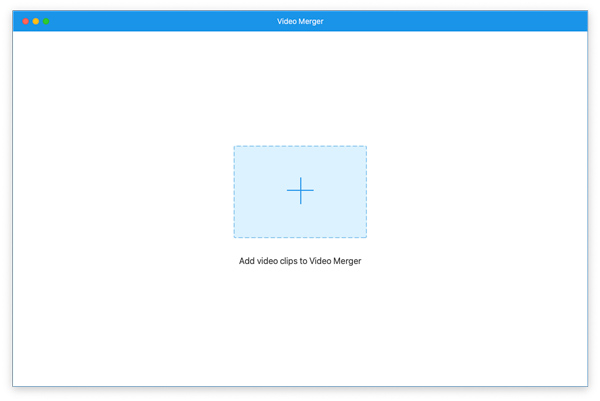
Select the Video Merger option of Toolbox and click the central + to add the video you want to combine with other videos.
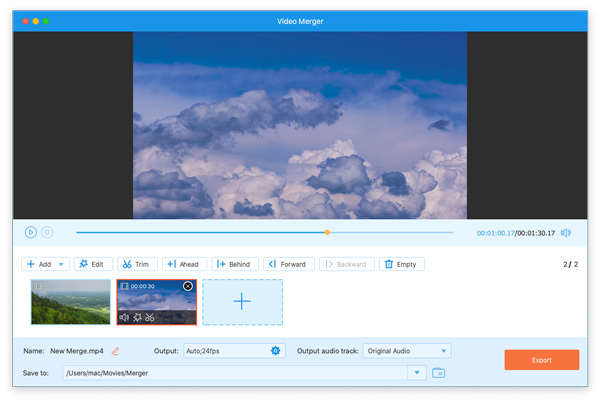
Step 2 Merge videos
In the interface, you can click the Add button or the plus sign to add more videos you want to merge. Lastly, click the Export button to save your video to your computer.
Step 1 Add a video file
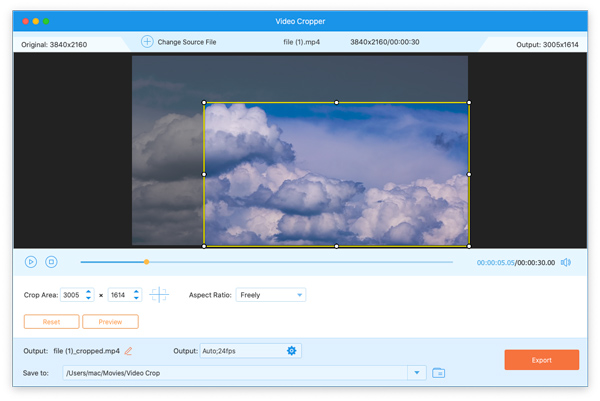
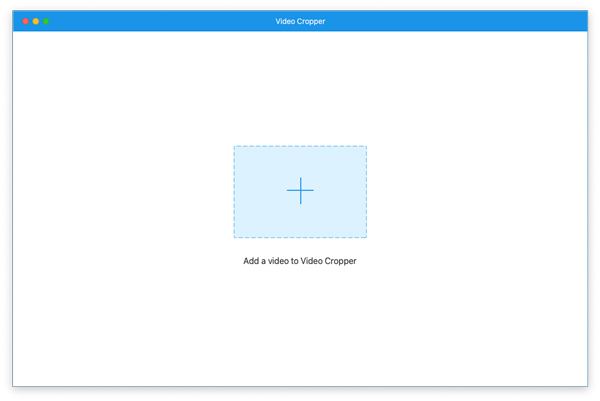
Select the Video Cropper option of Toolbox and click the central + to add the video you want to remove dark edges.
Step 1 Crop video
After adding the video to this tool, you can select the area to keep by dragging the yellow frame. You can also click the Aspect Ratio drop-down icon to select a suitable aspect ratio for your video. Then click the Export button to save your video to your computer.

Step 1 Add a video file
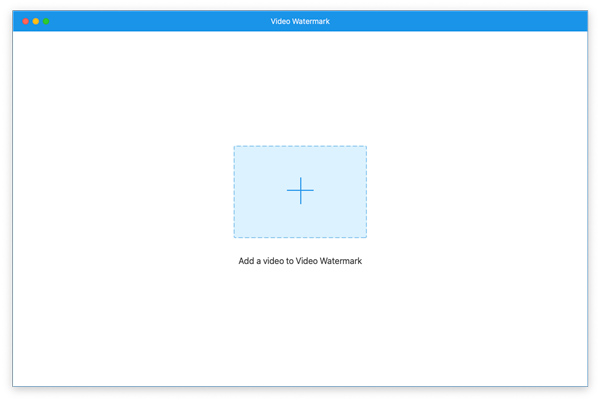
Click the Video Watermark button in the Toolbox interface and click the central plus sign to import the video you want to add a watermark to it.
Step 2 Add a watermark to the video
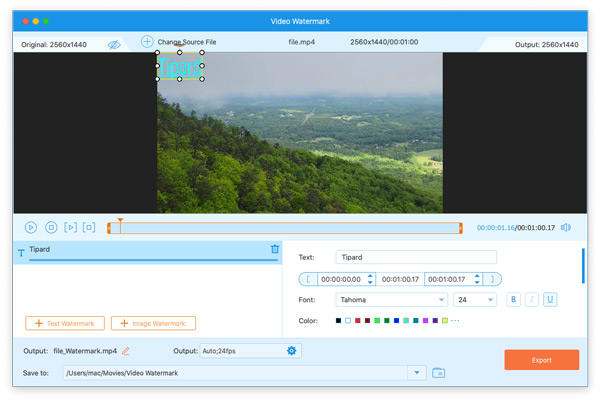
If you want to add a text watermark to your video, you can select the Text Watermark option. Please click the Image Watermark button if you prefer to add an image watermark to your video.

When adding a text watermark to the video, you can input your watermark content in the Text box. Then you can change the font, size, color, etc., of your text watermark.
When adding an image watermark to your video, you can click the + icon of Image to add or exchange the image watermark. And you can customize the duration, orientation, and opacity of your image watermark.
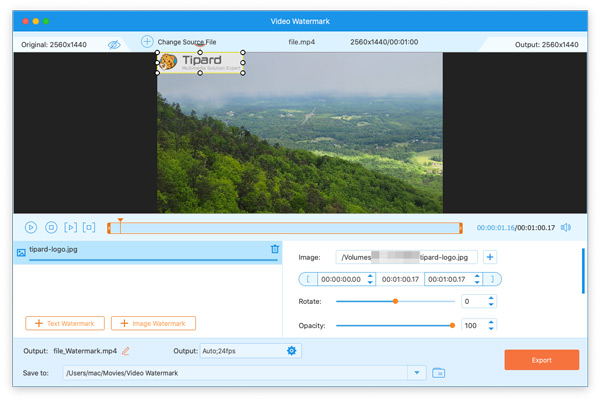
Finally, click the Export button to save your video to your computer.
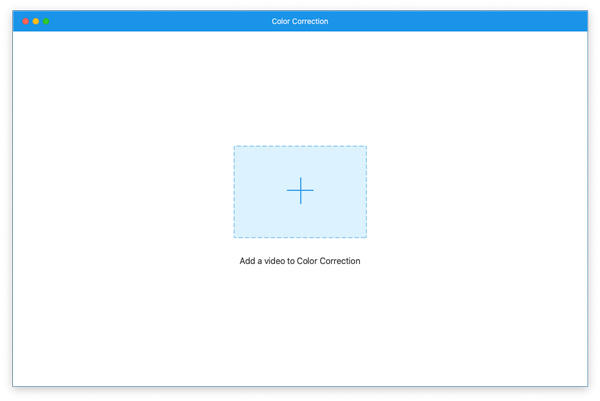
Step 1 Add a video file
Select the Color Correction option of Toolbox and click the central + to add the video you want to adjust video effects.
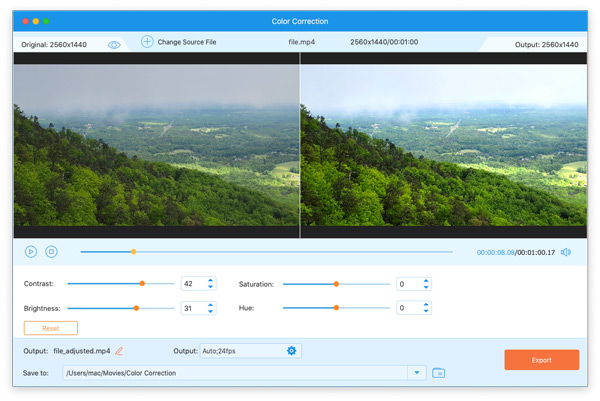
Step 2 Correct video color
Here you can adjust your video effects by sliding the bar of Contrast, Brightness, Saturation, or Hue. After that, click the Export button to save your video to your computer.
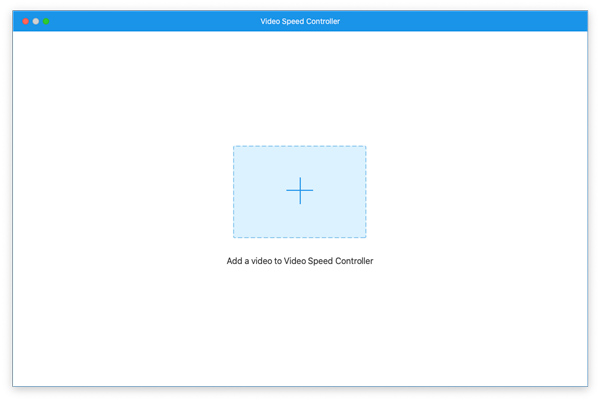
Step 1 Add a video file
Click the Video Speed Controller button in the Toolbox interface and the central plus sign to import the video you want to speed up or slow down.
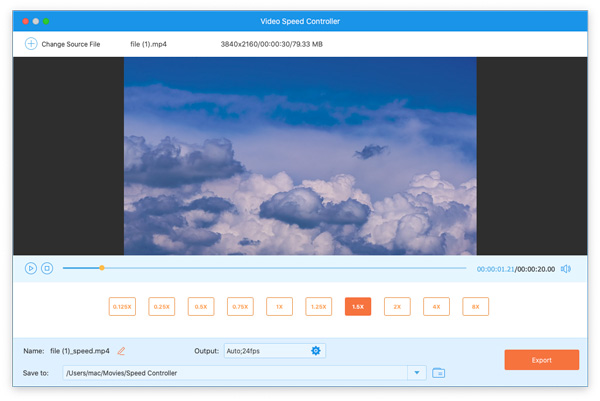
Step 2 Change video playback speed
If you want to speed up your video, you can click the 1.5X and Export buttons to save your video to your computer.
Step 1 Add a video file
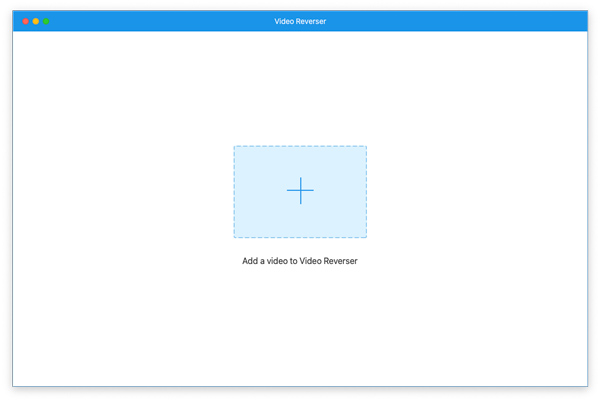
Select the Video Reverser option of Toolbox and click the central + to add the video you want to turn your video backward.
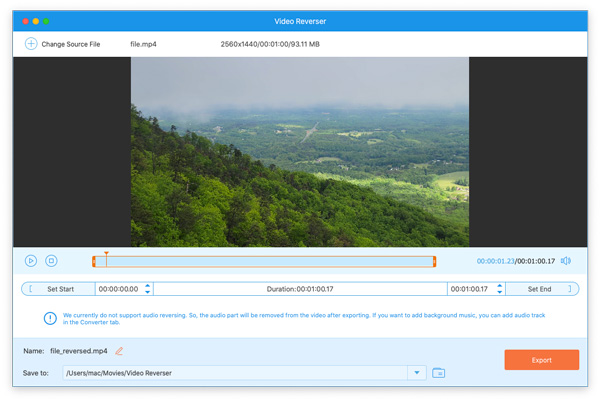
Step 2 Reverse video
This tool can reverse the whole video or a specific part of your video. You can drag both ends of the timeline to select the specific part of your video. Then click the Export button to save your video to your computer.
Step 1 Add a video file
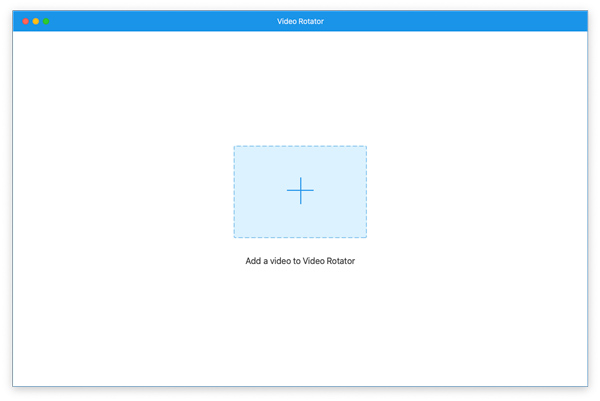
Click the Video Rotator button in the Toolbox interface and the central plus sign to import the video you want to rotate or flip.
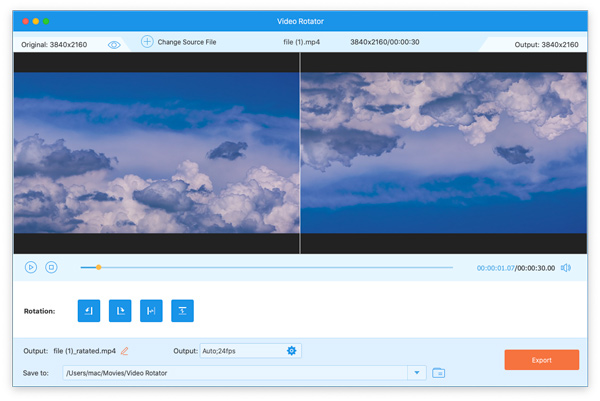
Step 2 Rotate or flip the video
You can select four options to rotate or flip your video: Rotate 90 degrees to the left, Rotate 90 degrees to the right, Flip horizontally, and Flip vertically. After selecting the orientation, you can click the Export button to save your video to your computer.
Step 1 Add a video file
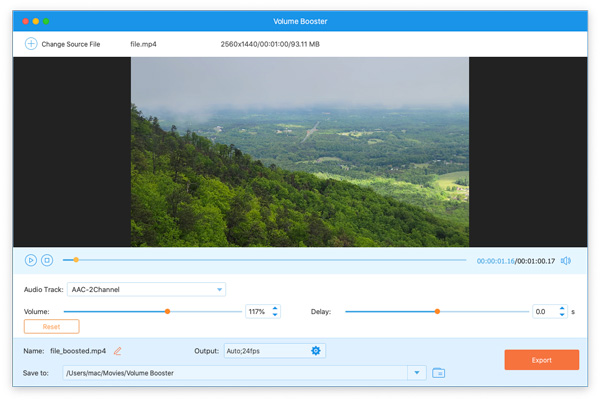
Select the Volume Booster option of Toolbox and click the central + to add the video you want to turn up the volume of your video's audio track.

Step 2 Turn up the video volume
If you think your video's volume is too low, you can use this tool to turn up the volume by sliding the Volume bar from left to right. Then click the Export button to save your video to your computer.
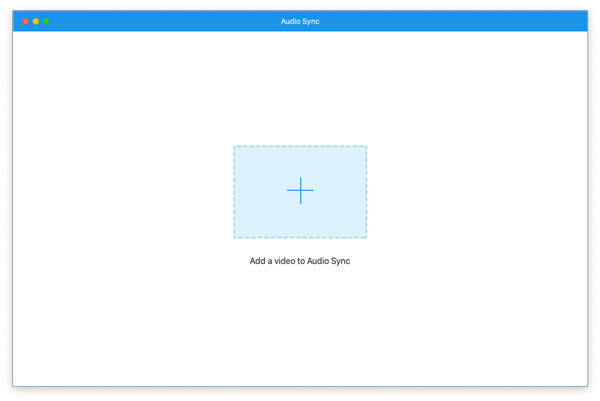
Step 1 Add a video file
Click the Audio Sync button in the Toolbox interface and the central plus sign to import the video you want to fix the audio and video out-of-sync problem.
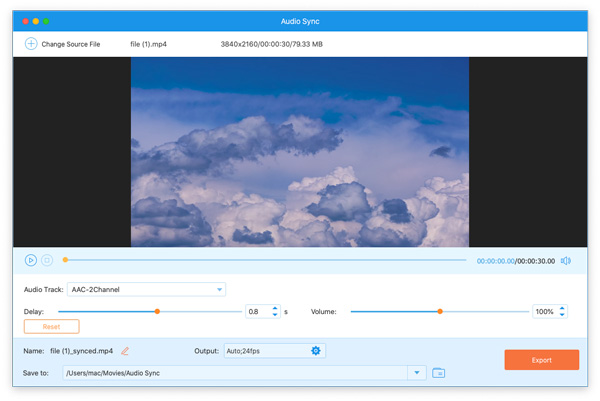
Step 2 Sync video and audio
Please slide the Delay bar to sync the audio with your video based on your needs. Next, click the Export button to save your video to your computer.
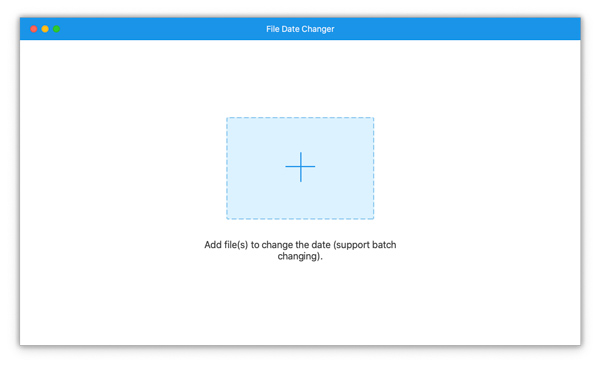
Step 1 Add a file
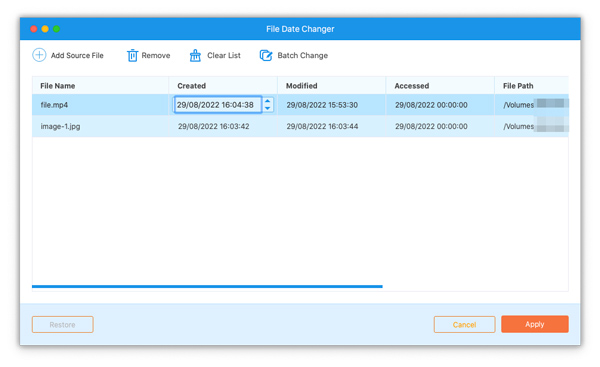
Select the File Date Changer option of Toolbox and click the central + to add the file you want to change its dates as you like.
Step 2 Change file dates
This tool enables you to change your video's created date, modified date, and accessed date if needed. And you can click the Add Source File button to import more files. To change the date, please click on the date, and then you can edit it. After editing, please click the Apple button to export files with the date changing.
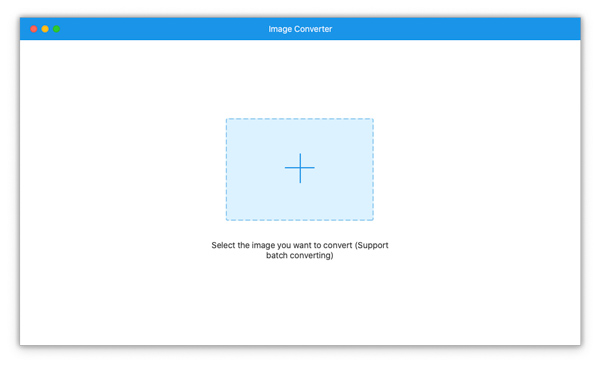
Step 1 Add an image file
Go to the Toolbox tab and click the Image Converter button to import the photo you want to change format by clicking the center plus sign.
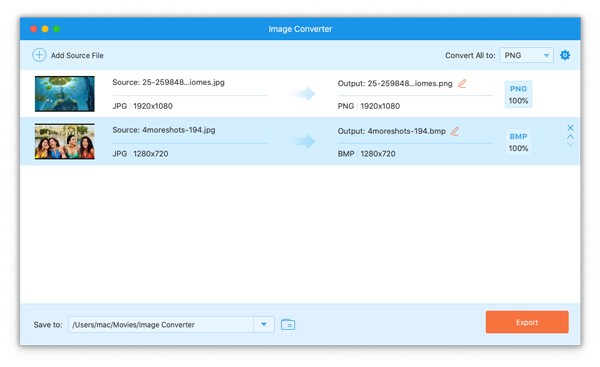
Step 2 Converter image format
After importing the image, you can click the drop-down icon next to Convert All to for selecting the format to convert into. Here are image formats you can select: JPG/JPEG, PNG, BMP, TIF/TIFF, WEBP, and DDS. Then, you can click the Export button to finish the conversion. If you have other pictures to convert, you can click the Add Source File button to import them.
Tipard Mac Video Converter Ultimate lets you make preference settings. As you open this program, click Tipard Mac Video Converter Ultimate and select Preferences to further adjust the settings.
In the General settings window, you can select the subtitle language and audio language, enable GPU acceleration, and check for updates automatically.
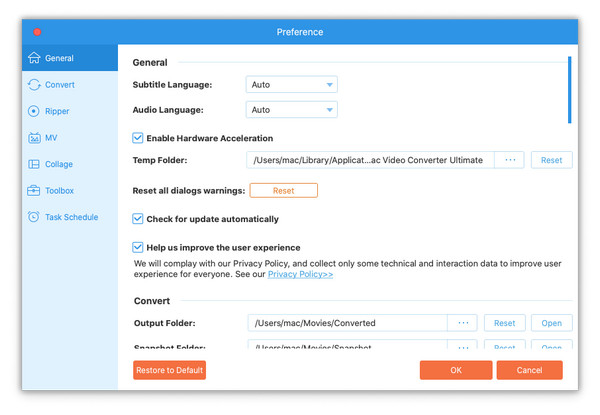
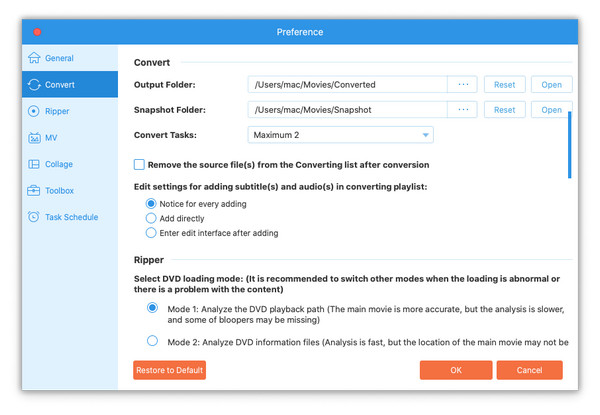
In the Converter tab, you can select the output folder and snapshot folder, set the convert tasks. You can also choose to remove the source file after conversion, and set the notice when editing settings for adding subtitles and audio.
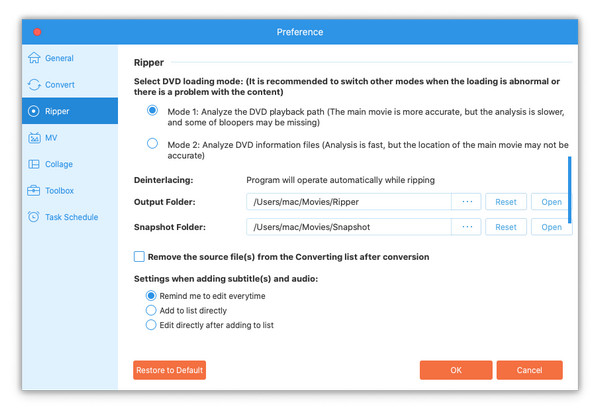
In the preference settings of Ripper, you can change the output folder and snapshot folder. You can also set to remove the source file after conversion, and set settings when adding subtitles and audio.
Here you can set all the destination folders for the compressed video, generated GIF file, new-created 3D video, and the enhanced video.
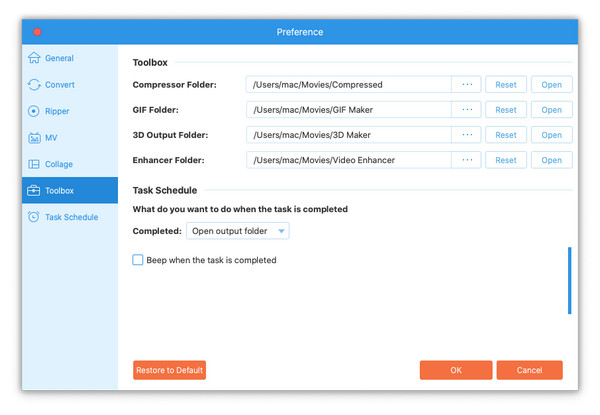
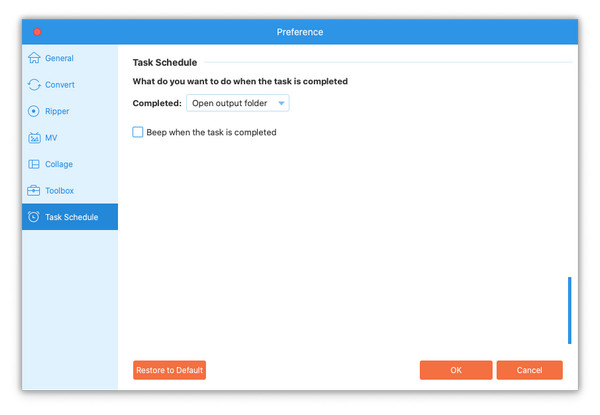
Here you can set the next instruction when the task is completed.
